Preparing visa documents is less about collecting random paperwork and more about building a file that makes sense from start to finish. Each document should support the same basic story: who you are, why you are traveling, how you will pay for the trip, and why you will return home on time.
This guide walks through that process, the documents most applicants need, and the checks worth doing before you submit.
What consular officers are actually looking at
Understanding the review process changes how you prepare your documents.
When a consular officer looks at an application, they are usually trying to answer three questions:
- Eligibility: Do you meet the formal requirements, such as passport validity, the right visa category, and the minimum financial threshold?
- Intent: Does the reason for your trip make sense, and do your documents support it?
- Return likelihood: Is there enough evidence that you will leave before your allowed stay expires?
That is why a checklist alone is not enough. The file has to hold together.
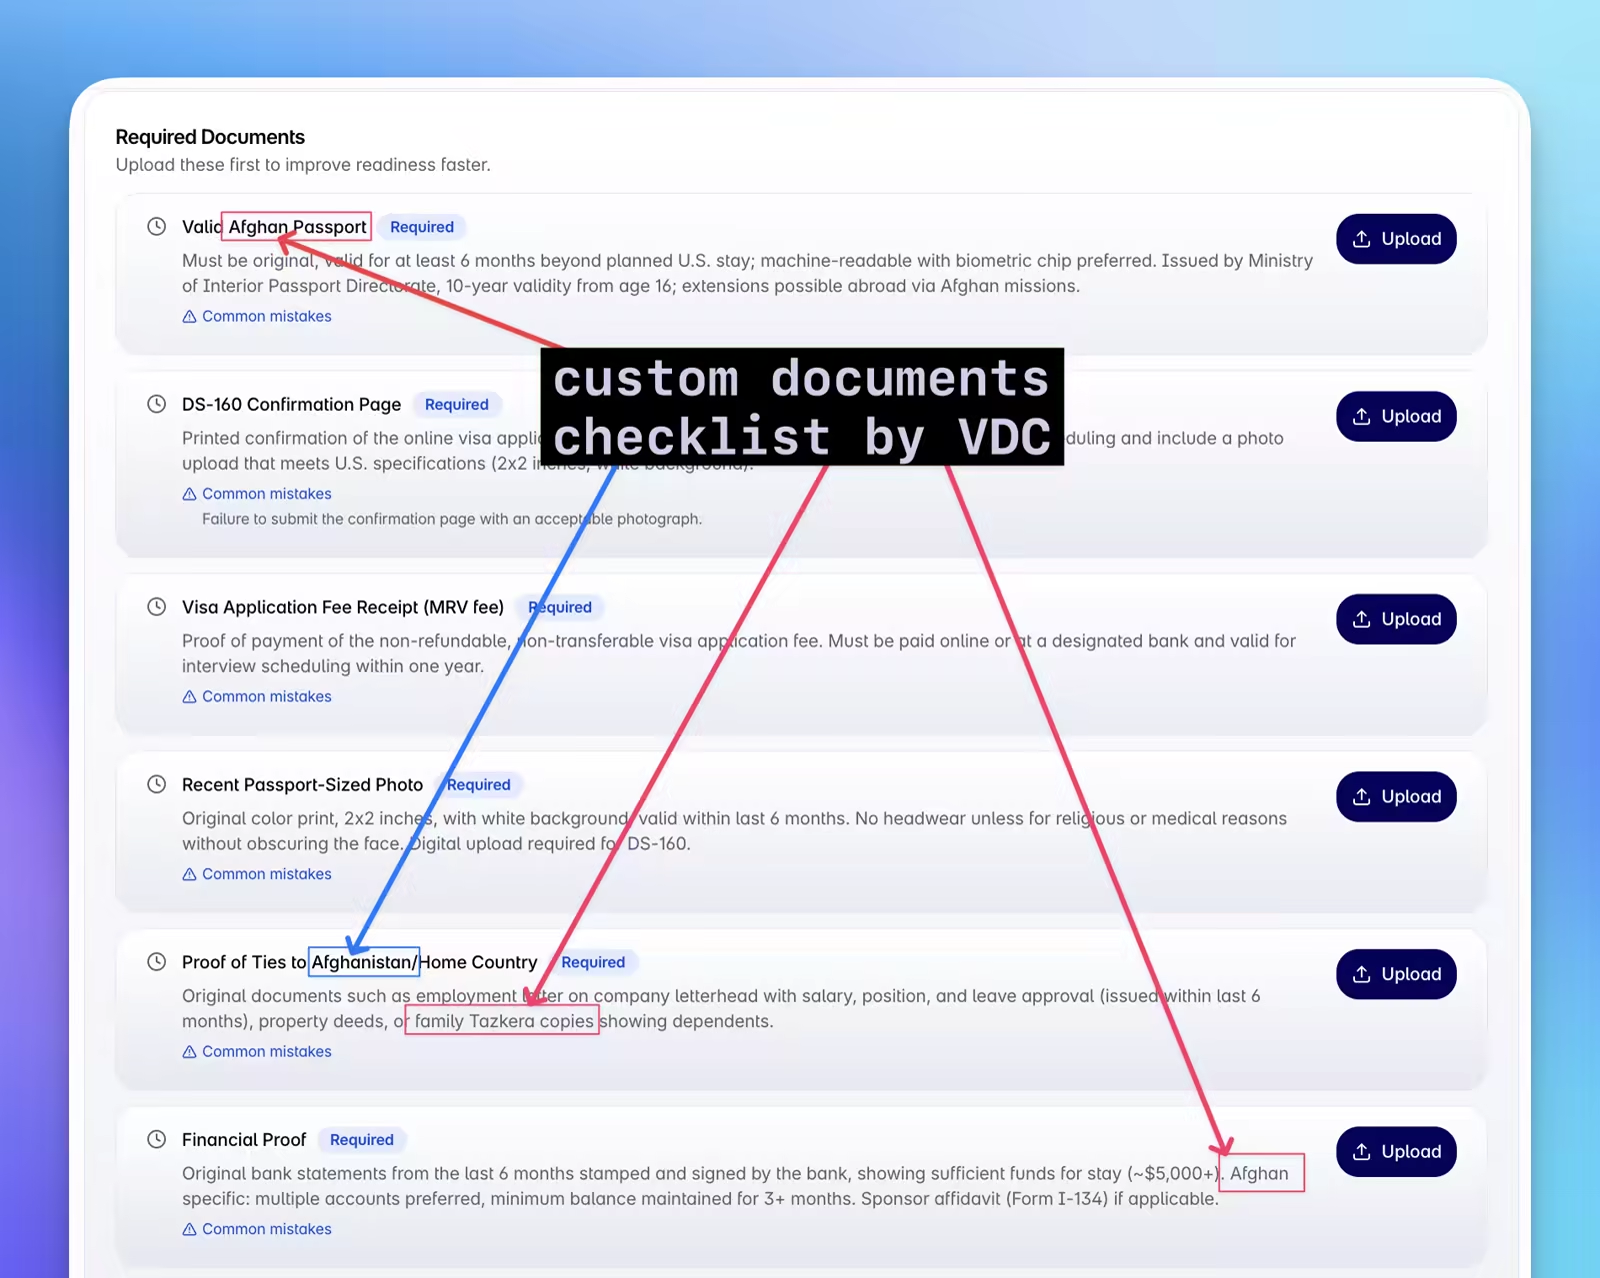
Step 1: Build the right checklist for your visa type and embassy
Generic document lists are useful, but they are not the final answer. Requirements can change based on:
- Visa type: A B1/B2 tourist visa and an F-1 student visa require very different documents, even for the same country.
- Your nationality: Some applicants face extra scrutiny or need to provide documents others are not asked for.
- The embassy or consulate: Two embassies processing the same visa category may still ask for different formats or supporting records.
Before you start gathering documents, make sure you know exactly where you are applying and what that office expects for your situation.
Step 2: Gather the core documents most applications require
Across US, UK, Schengen, Canada, and Australia applications, these documents usually form the base of the file:
Identity documents
- Valid passport with enough validity beyond your intended departure date
- Passport-sized photos that match the destination country's exact requirements
- Completed visa application form for the destination country
Financial documents
- Bank statements covering the past 3 to 6 months
- Payslips for the same period
- Income tax returns when required as proof of ongoing income
Employment documents
- Employment letter confirming your role, salary, approved leave dates, and expected return to work
- Employment contract if the embassy asks for it
Travel documents
- Flight reservation or itinerary showing intended travel dates
- Hotel bookings or accommodation confirmation for the full stay
- Travel insurance that meets the destination country's minimum coverage rules
Ties to home country
- Property ownership records or a lease agreement
- Family registration documents if relevant
- Proof of ongoing commitments that require your return, such as studies, business ownership, or dependent family members
Step 3: Review each document on its own
Before you worry about the whole package, make sure each document is doing its job.
Bank statements
- Cover the full required period, usually the 3 months before the application date
- Are signed or stamped if the embassy requires it
- Show your full name and account number clearly
- Do not include unexplained large deposits right before submission
If you want a tighter breakdown of what officers are trying to read from your statements, see proof of funds for a visa application.
Employment letter
- Is recent enough for the embassy's rules
- States your exact role, start date, and salary
- Confirms leave for the same travel dates listed in your application
- Says you are expected back at work after the trip
- Is printed on company letterhead and signed by an authorized person
If your HR team tends to issue generic confirmation letters, read employment letter for a visa application before you request one.
Travel insurance
- Covers the entire stay, not just the flight dates
- Meets the country's minimum coverage requirement
- Applies in every country you plan to visit
- Clearly includes emergency medical treatment and repatriation where required
Step 4: Cross-check the full package
This is the step many applicants skip, and it causes a surprising number of avoidable refusals.
Consular officers compare documents against each other. They check whether the details line up across the full set:
- The employer name in your employment letter against the employer name on your bank statement header
- The salary in your letter against the salary deposits in your account
- The travel dates in your application against your hotel and flight bookings
- The address in your application against your bank statement or utility bill
- The stated purpose of the trip against the documents you included to support it
Even a small mismatch, like a spelling difference in your employer's name, can lead to questions.
Before you submit, run a simple cross-reference check:
| Document A | Document B | Check |
|---|---|---|
| Employment letter (employer name) | Bank statement (header) | Do the names match exactly? |
| Employment letter (salary) | Bank statement (monthly deposits) | Are the amounts consistent? |
| Application form (travel dates) | Hotel bookings | Do the dates align? |
| Application form (address) | Utility bill or bank statement | Does the address match? |
| Application form (employer) | Employment letter | Is it the same employer? |
| Insurance policy (dates) | Application form (travel dates) | Does the policy cover the full stay? |
For a shorter pre-submission version of this review, see how to avoid visa rejection due to document mistakes.
Step 5: Check the embassy-specific rules one more time
Once the package is ready, compare it with the requirements of the embassy or consulate where you will actually submit it.
Differences can include:
- Extra documents for first-time applicants
- Financial thresholds that differ by location
- Rules about originals, copies, or certified documents
- Online submission requirements versus in-person appointments
This final check matters because the same visa type can be handled slightly differently depending on the office.
Using AI to review your application
Reviewing your own file is harder than it sounds. You already know what each document is supposed to say, which makes it easy to miss gaps and inconsistencies.
An AI document reviewer can help by:
- Reading each document and extracting the important details
- Comparing those details across the full package
- Checking the file against embassy-specific requirements
- Flagging issues with a short explanation of why each one matters
Visa Document Checker does this and returns a low, medium, or high risk score, along with a list of issues to fix before you submit.
Requirements and processing procedures vary by embassy and can change over time. Check the official embassy website for the latest rules before you apply.